Repotting
Repotting plants often makes people nervous. Many worry about damaging a plant or ‘hurting’ it in some way. The good news is that plants are really quite hardy and can put up with quite a lot – just give them the grace period to not look 100% straight away.
We plant our plants in plastic nursery pots to make repotting easier.
Step 1) Squeeze the pot to loosen the soil.
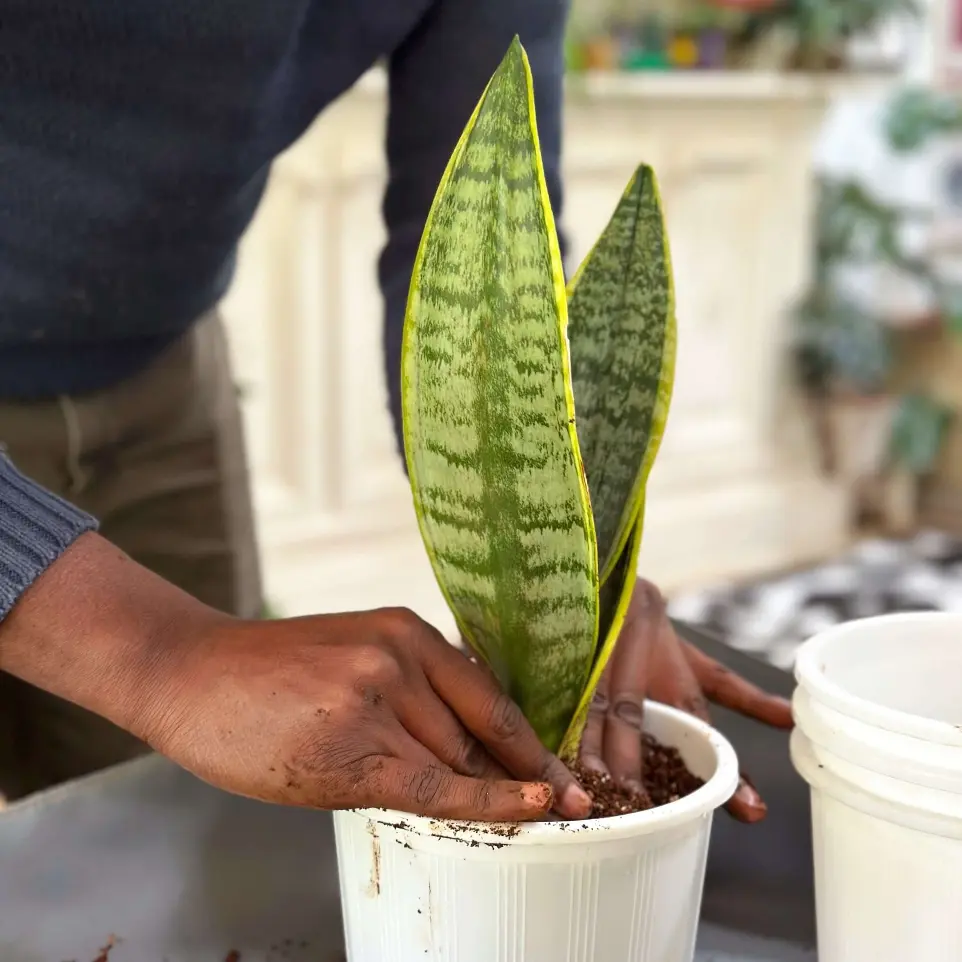
Step 2) Remove the plant from the nursery pot.
Step 3) Check the roots for damage and prune off any dead roots. If the roots are very severely root-bound gently tease them apart if you can without damaging too many.
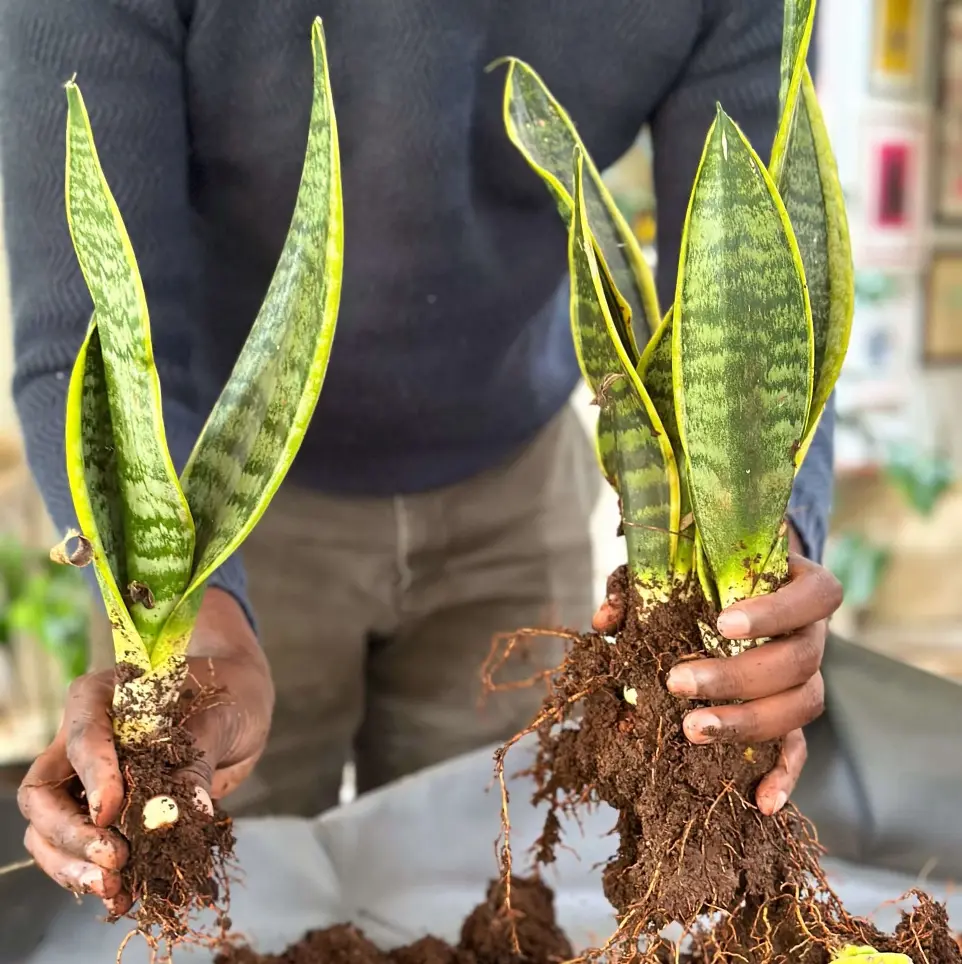
Step 4) Fill a pot ONE SIZE LARGER* with the appropriate potting mix about halfway. You might want to add pumice for drainage or vermiculite for water retention.
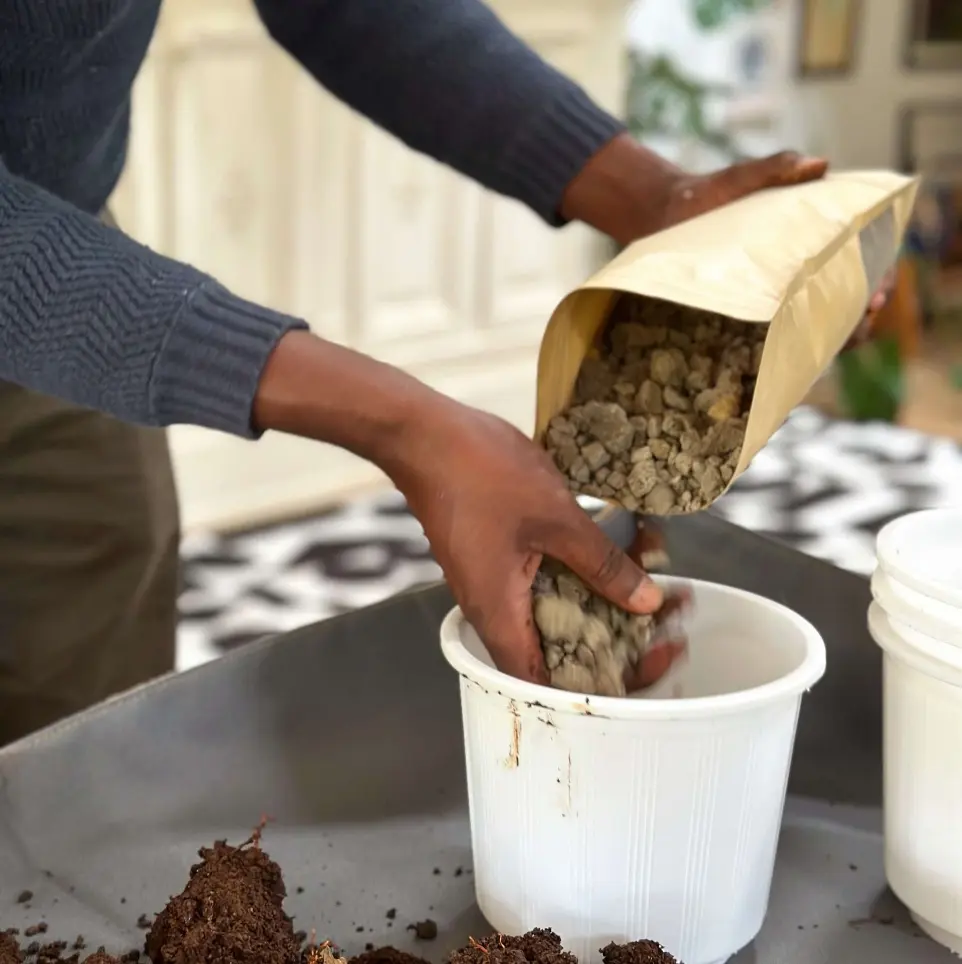
Step 5) Place the plant in the pot and hold it make sure the neck of the plant is roughly 1-2cm from the top of the pot. You might need to add or remove some soil for it to reach the required height.
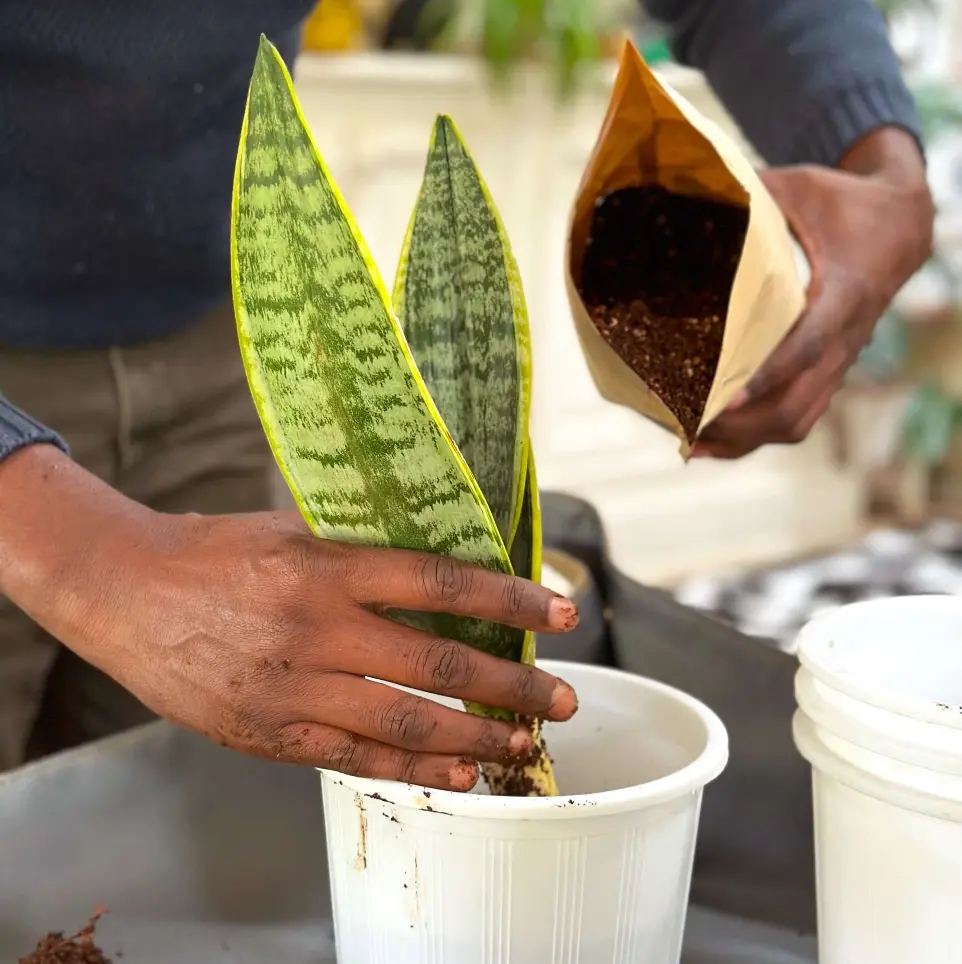
Step 6) Add soil around the sides of the plant as you hold it in place. Lightly press the soil to ensure the plant is secure. Do not compact the soil too much.
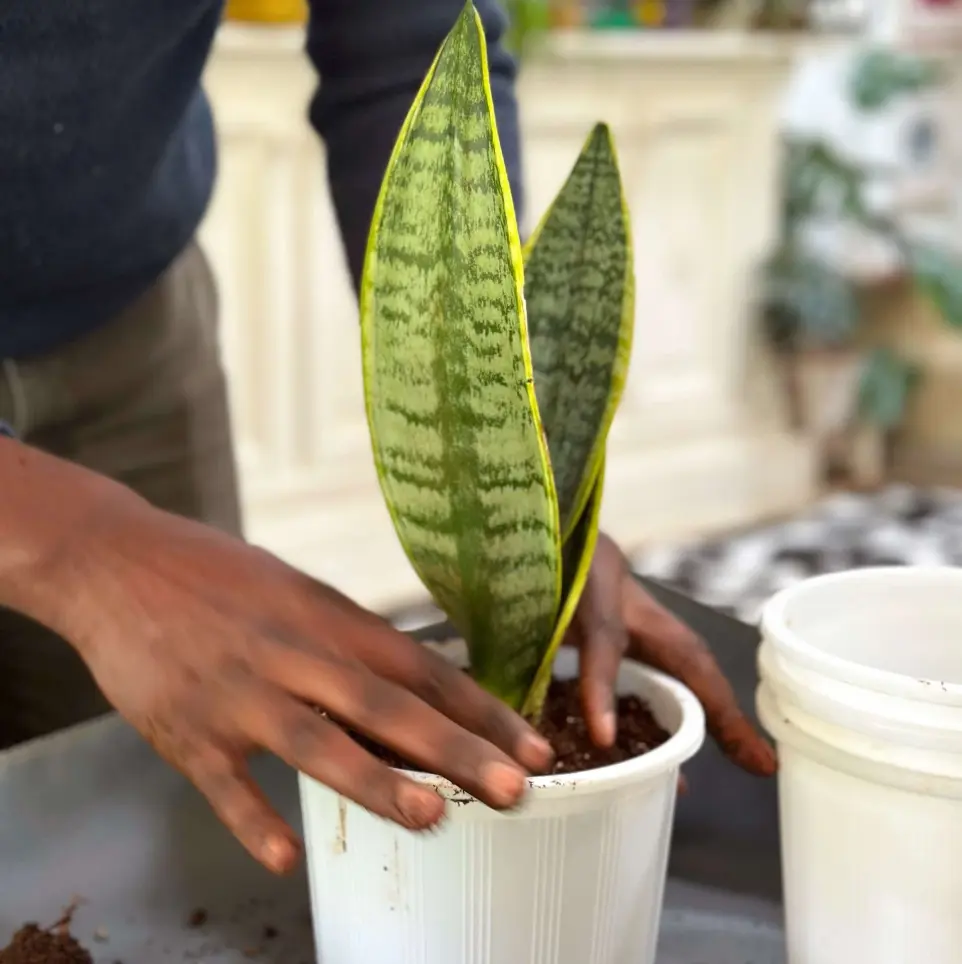
Step 7) Water your plant and allow to thoroughly drain.
Step 8) Place somewhere with bright indirect light. After repotting your plant may look worse before it looks better. Think of how stressful moving house is for humans. Of course, it’s going to take some time to bounce back.
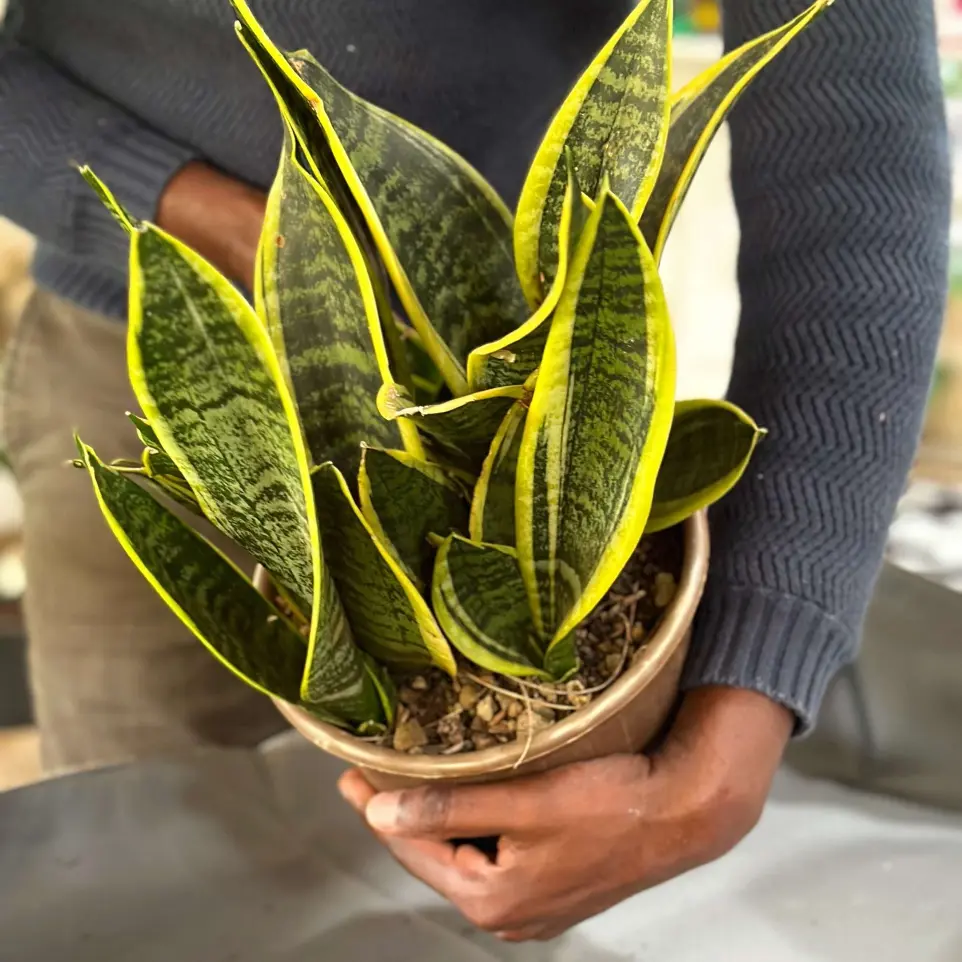
Don’t fear repotting and find a way that works for you!
*Why one size larger? If you go too big you will have too much soil-to-root ratio. When you water your plant the roots won’t be able to process all the water in that pot and will begin to rot. When we say ‘one size larger’ as a rule that means 2-5cm all-round the pot.