Propagation
One of the skills that is most fun to learn as a plant parent is propagation. If you master it you can potentially have unlimited plants for free!
There are many ways to propagate but here are our favourites;
- Propagation by cuttings
- Propagation by leaf cuttings (succulents)
- Splitting
Propagation by cuttings
Cuttings are one of the most common ways of propagating and generally works well with many plants. We are showing a method that works well with climbers such as Epipremnum, Syngonium, Monsteras, and Philodendrons, some of our best-selling plants!
Step 1: Locate the node on a stem.
Step 2: Cut 2-4cm below the node at an angle (this angle increases the surface area of the cut and thus the amount of space the plant has to grow new roots from later).
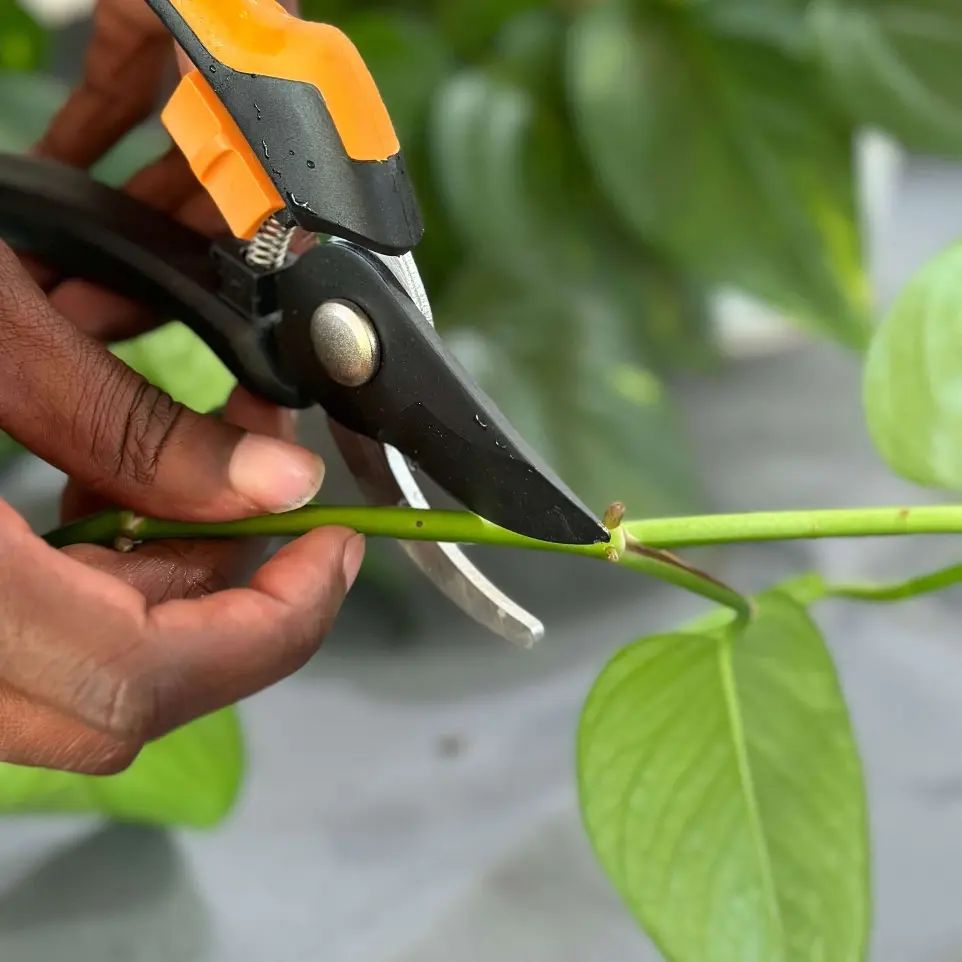
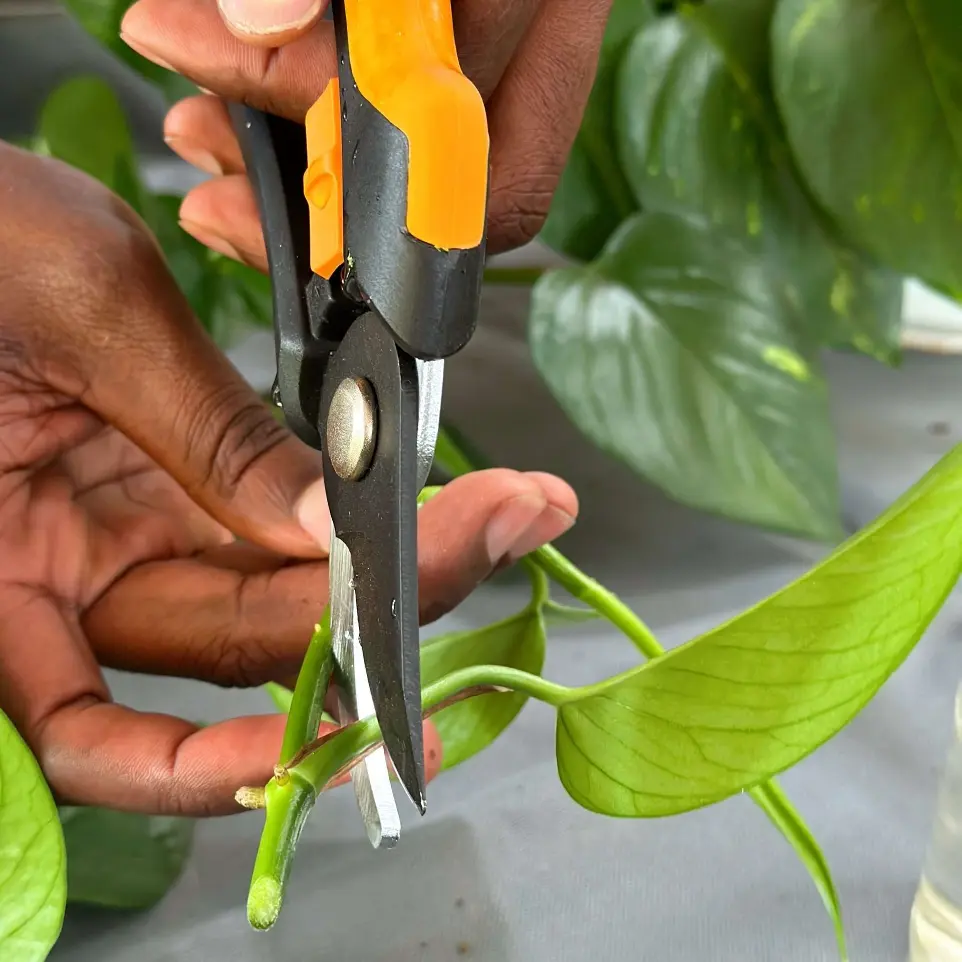
Step 3: Cut off the leaf directly at the node space as it will be submerged in either water or soil and susceptible to rot.
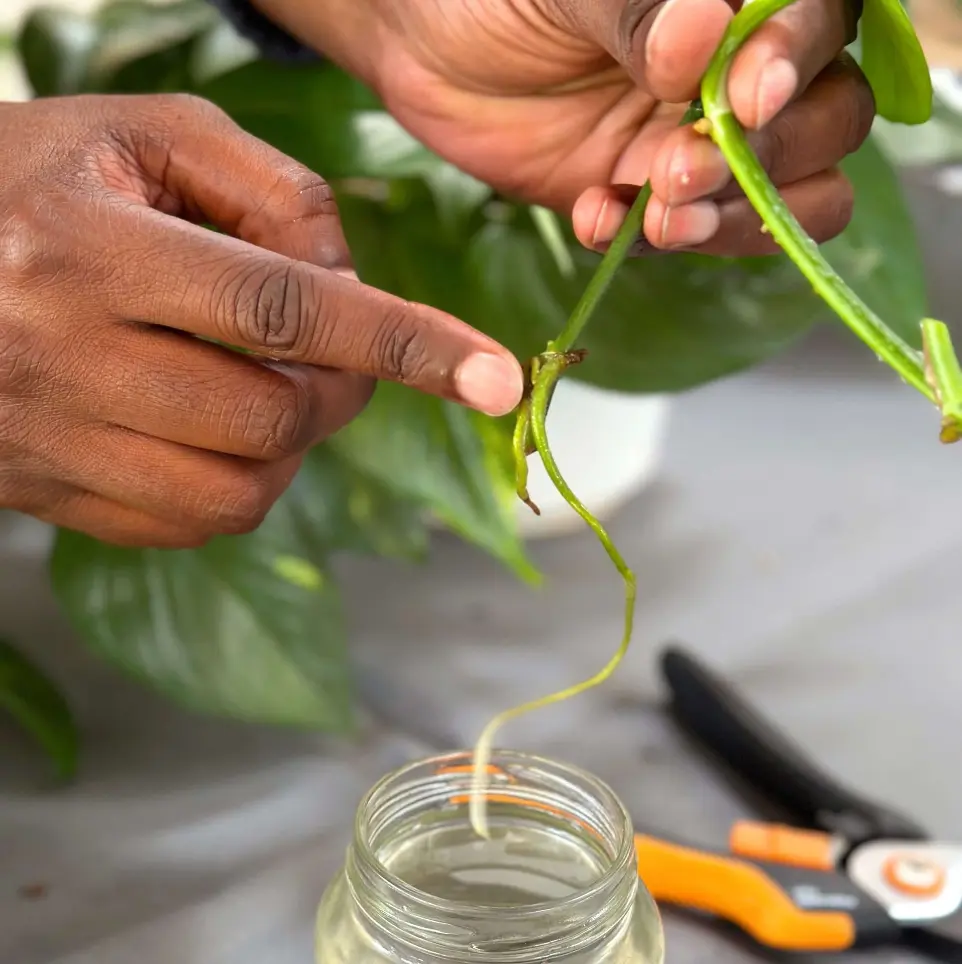
Step 4: Submerge the node in water and replace water every 7-10 days. Roots should emerge within a month.
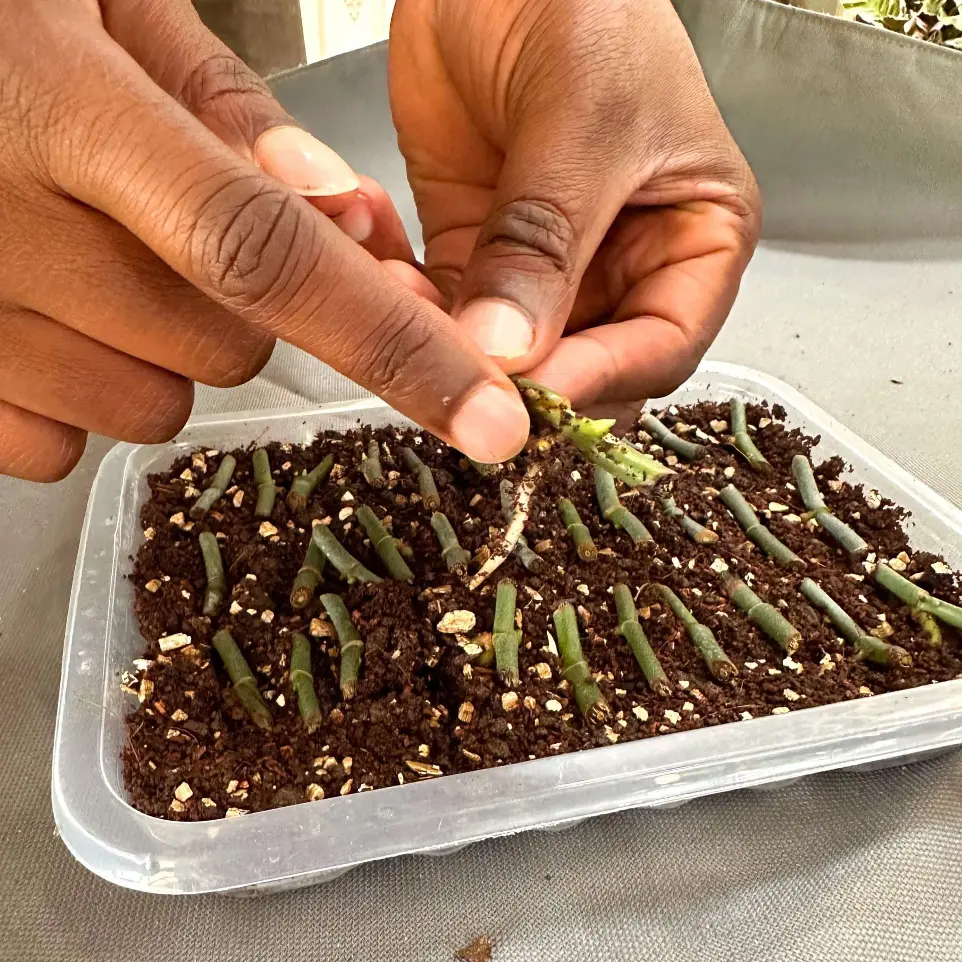
Step 5: Or pot in soil with the node under the soil level and water well. You can also cut either size of the node and place multiple cuttings laying node down in damp soil. This is especially worth doing if your creeper has been ‘misfiring’ and is long and stringy and repotting or water propagating empty stalks isn’t very pleasing to look at!
Propagation by leaf cuttings (succulents)
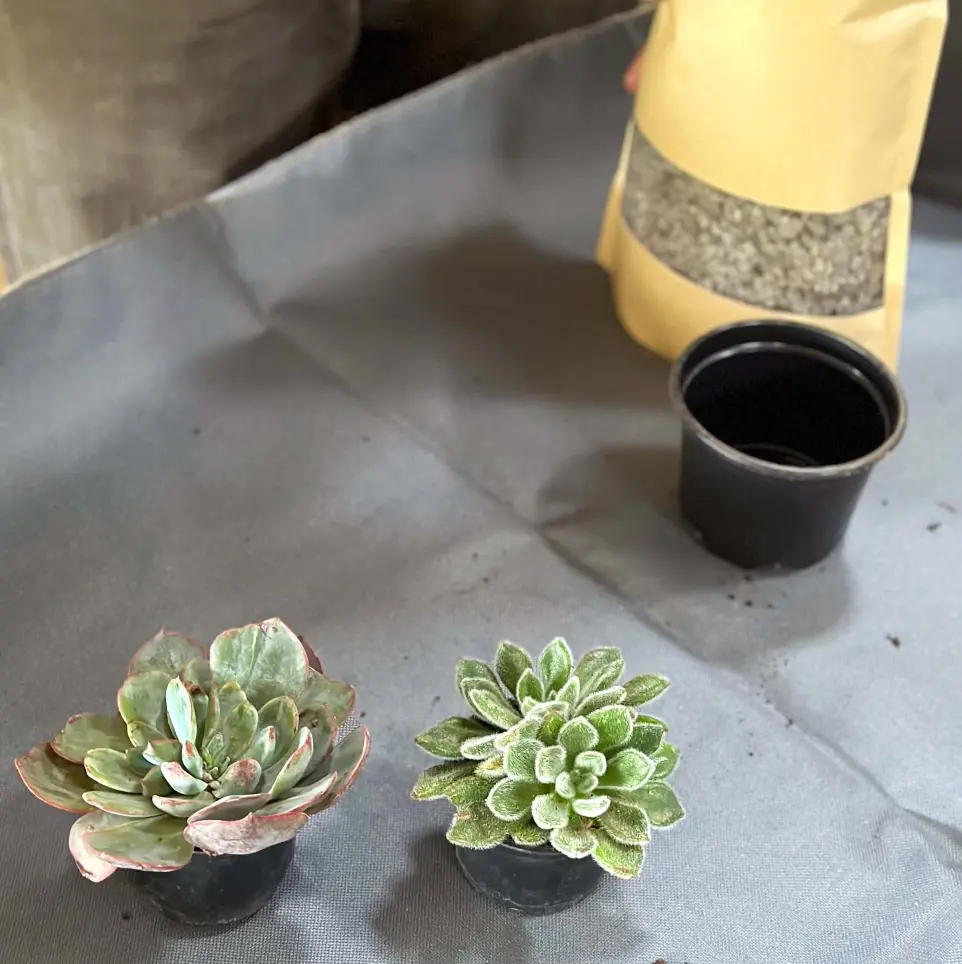
This method is very easy and works well with rosette-style succulents. It doesn’t work with Haworthia or Aloes which, whilst they look similar, have very different physiologies.
Step 1: Cut fleshly leaves from your mother plant.
Step 2: Allow the cut to heal for 24/48 hours. A fresh succulent that is planted or water-propagated will rot.
Step 3: Place the leaf on the top of the soil and mist.
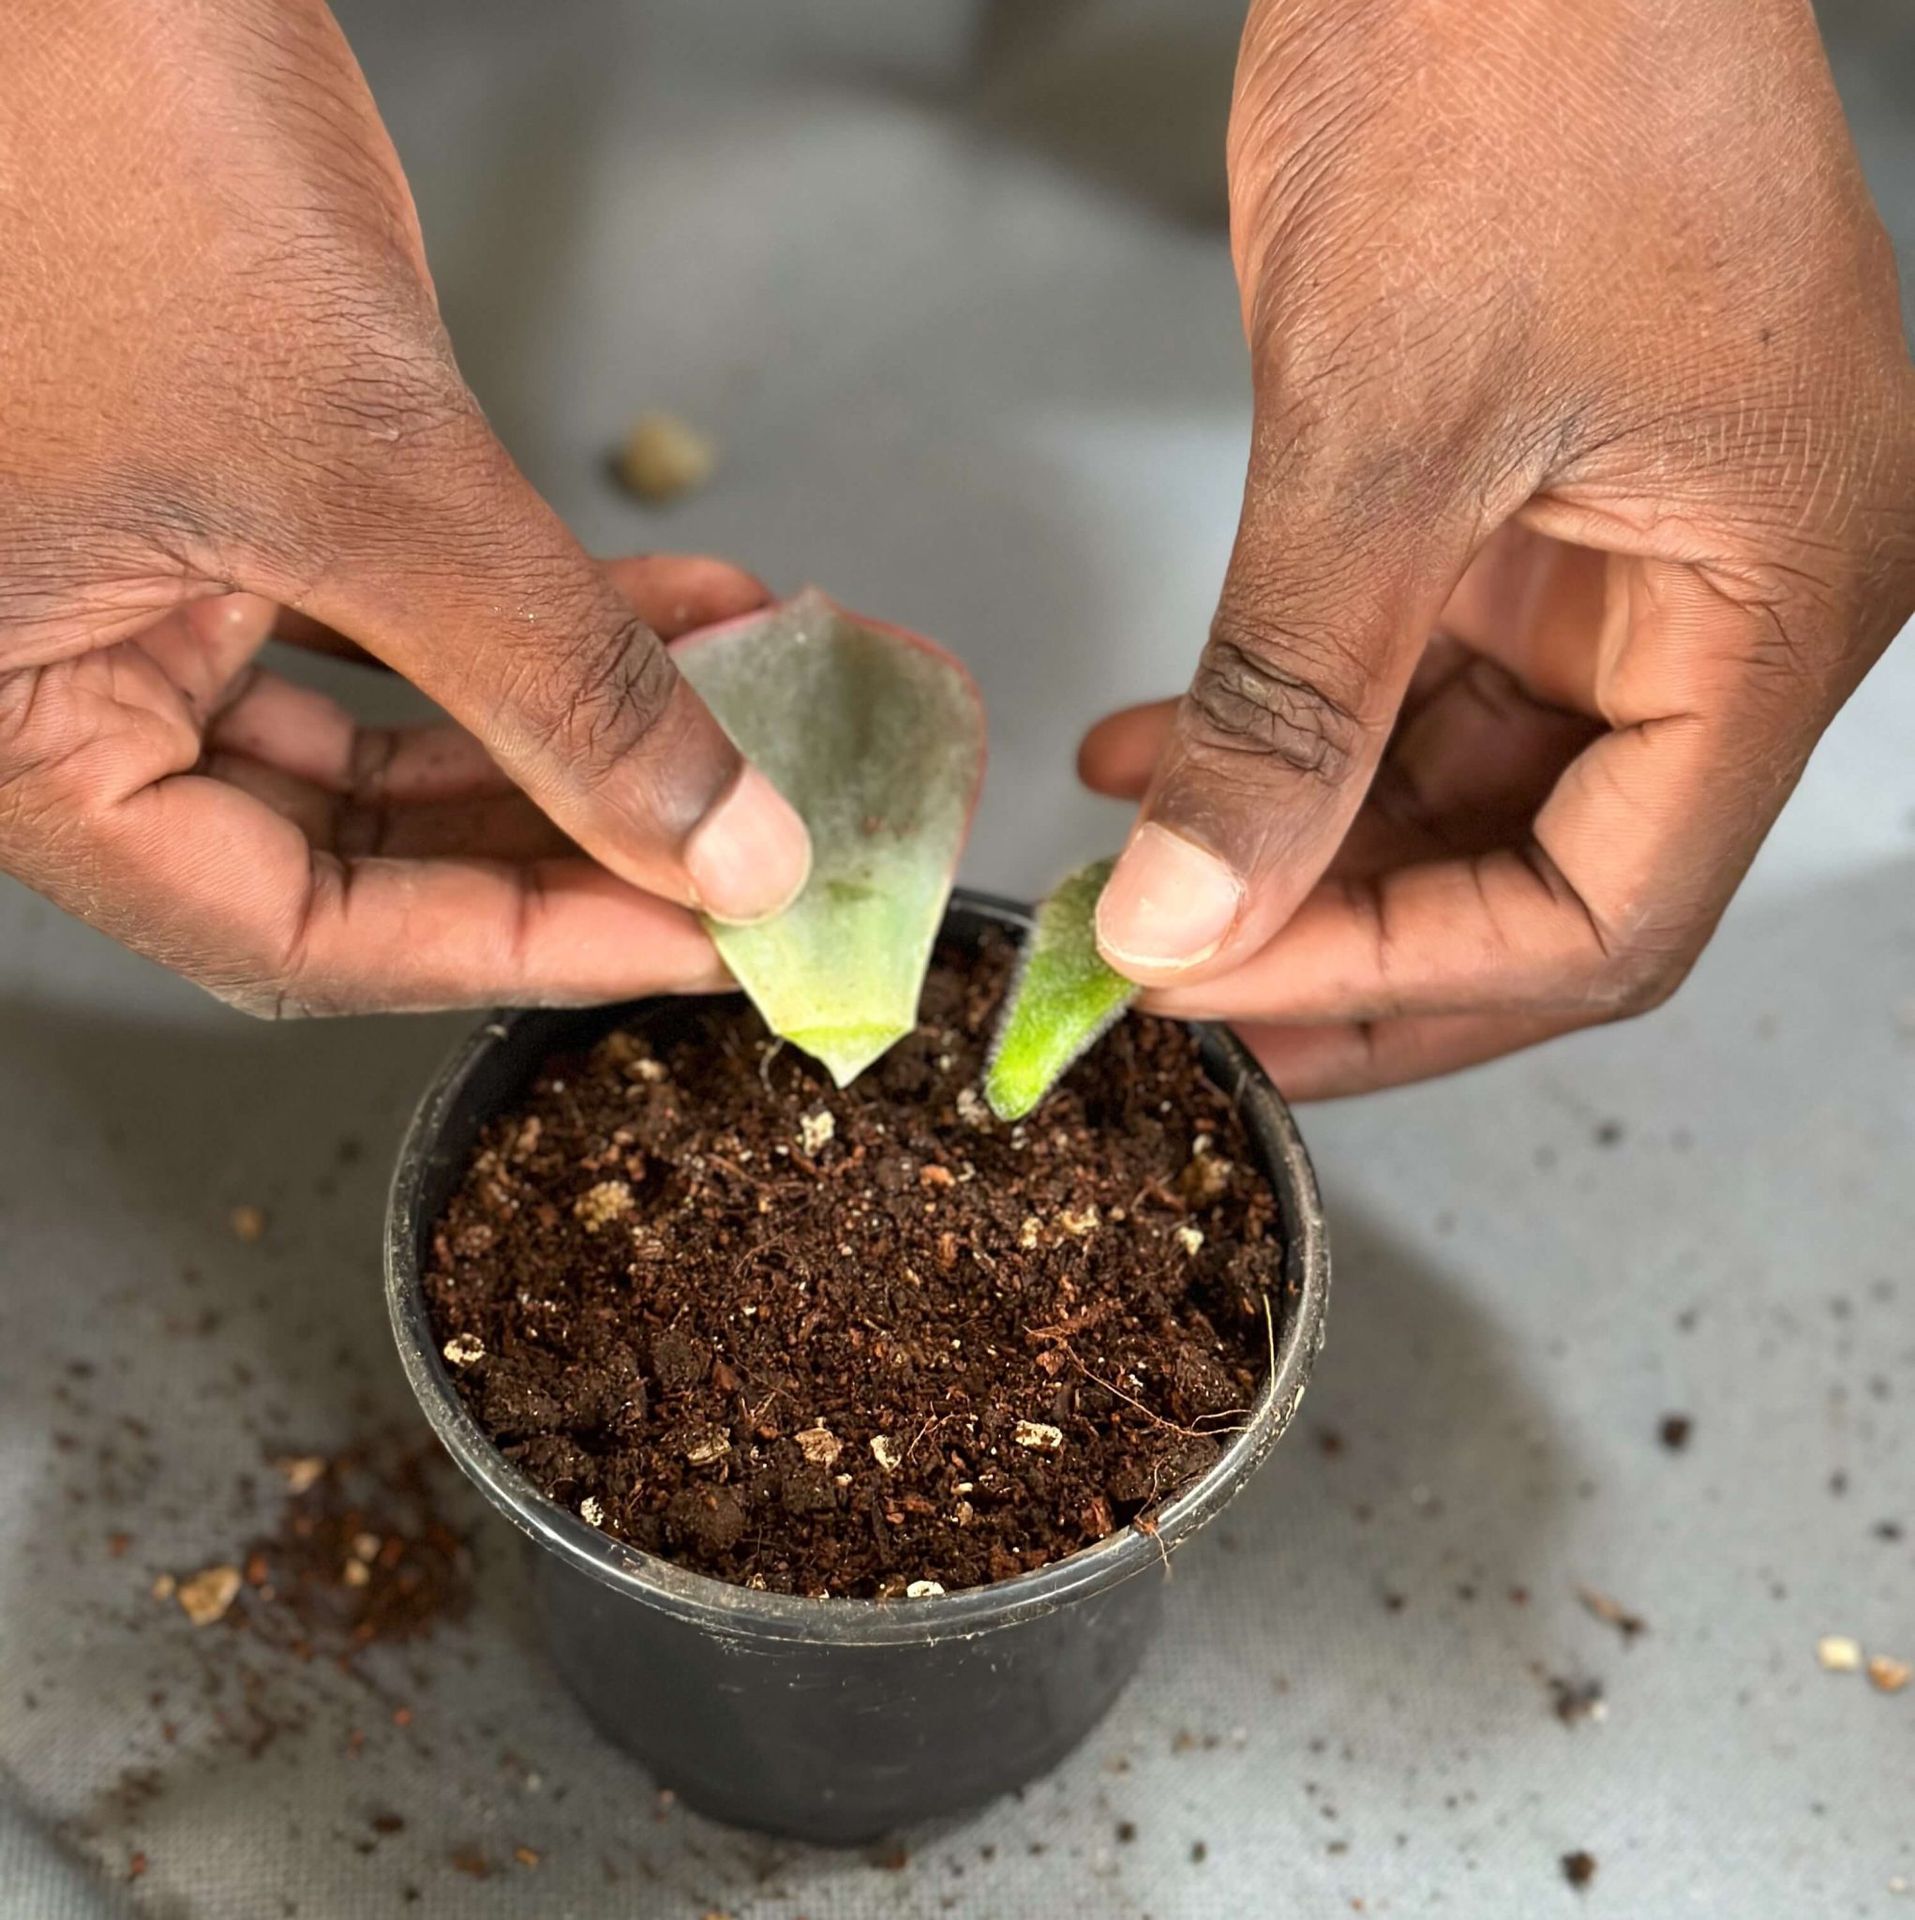
Step 4: Mist every 2-3 days and soon you will see roots and then a baby rosette form. The leaf will eventually wither and die leaving you with a new succulent to plant.
Splitting
Some plants are so easy to propagate that all you need to do is split them! Chlorophytum, Sansevieria and Pilea peperomiodes are all great to split when they are looking crowded.
Step 1: Remove the plant from the pot and as much soil as you need to see the roots.
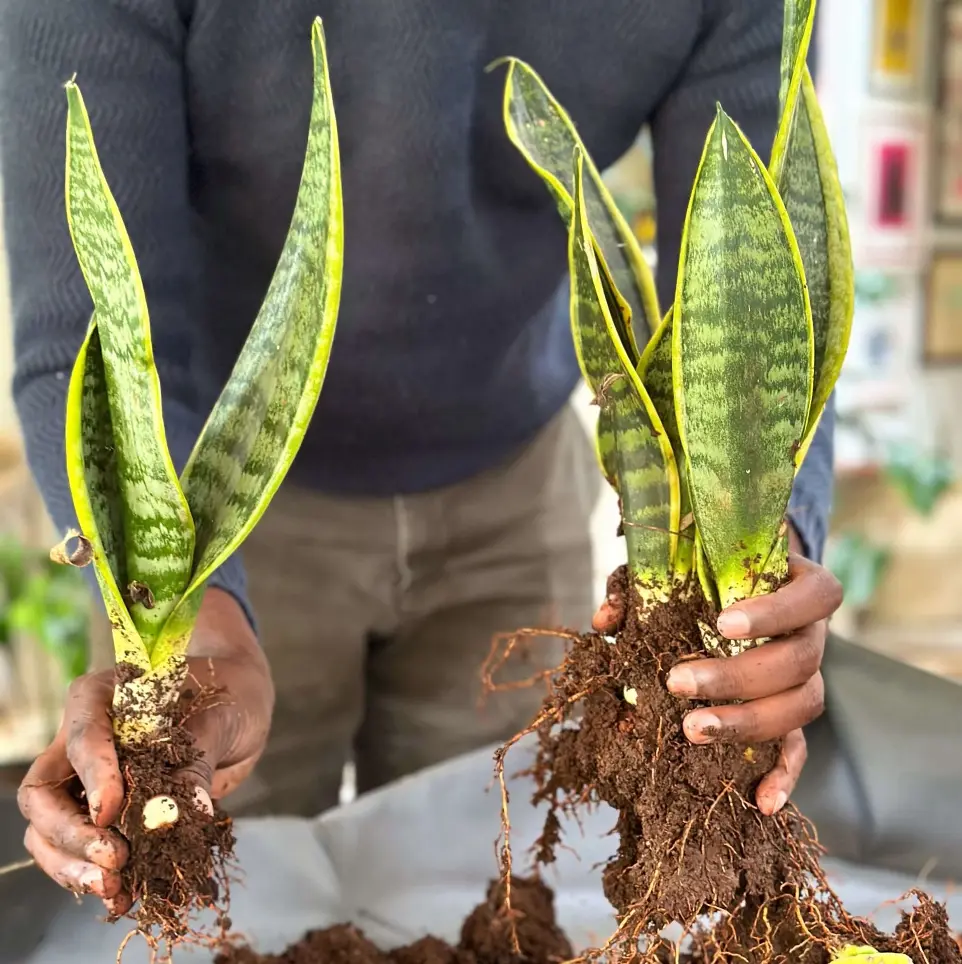
Step 2: Identify major ‘clumps’ and begin to tease them apart. You might want to make as many plants as possible in which case you will tease apart to the smallest root system or perhaps just split in two. It’s up to you! You may need to cut or break a root but don’t worry, as long as the plant has more well-established roots that are not cut it will be fine.
Step 3: Fill a pot ONE SIZE LARGER* with the appropriate potting mix about halfway. You might want to add pumice for drainage or vermiculite for water retention.
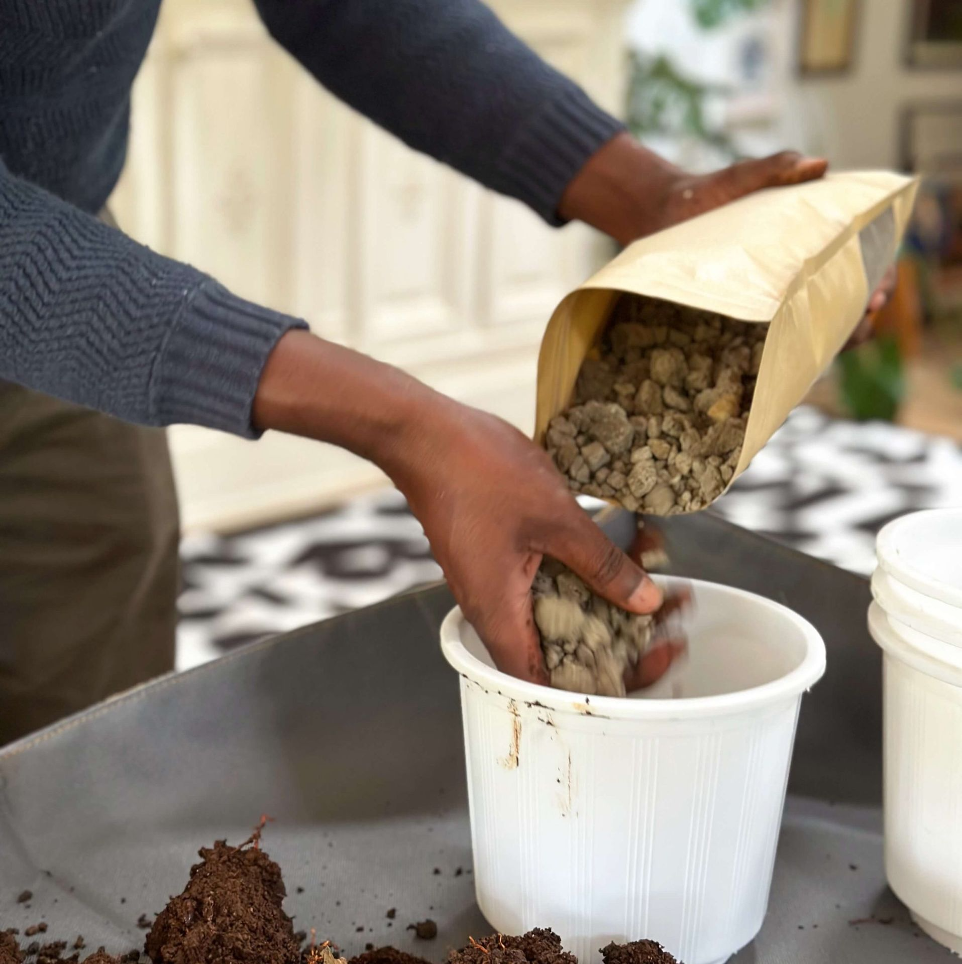
Step 4: Place the plant in the pot and holding it make sure the neck of the plant is roughly 1-2cm from the top of the pot. You might need to add or remove some soil for it to reach the required height.
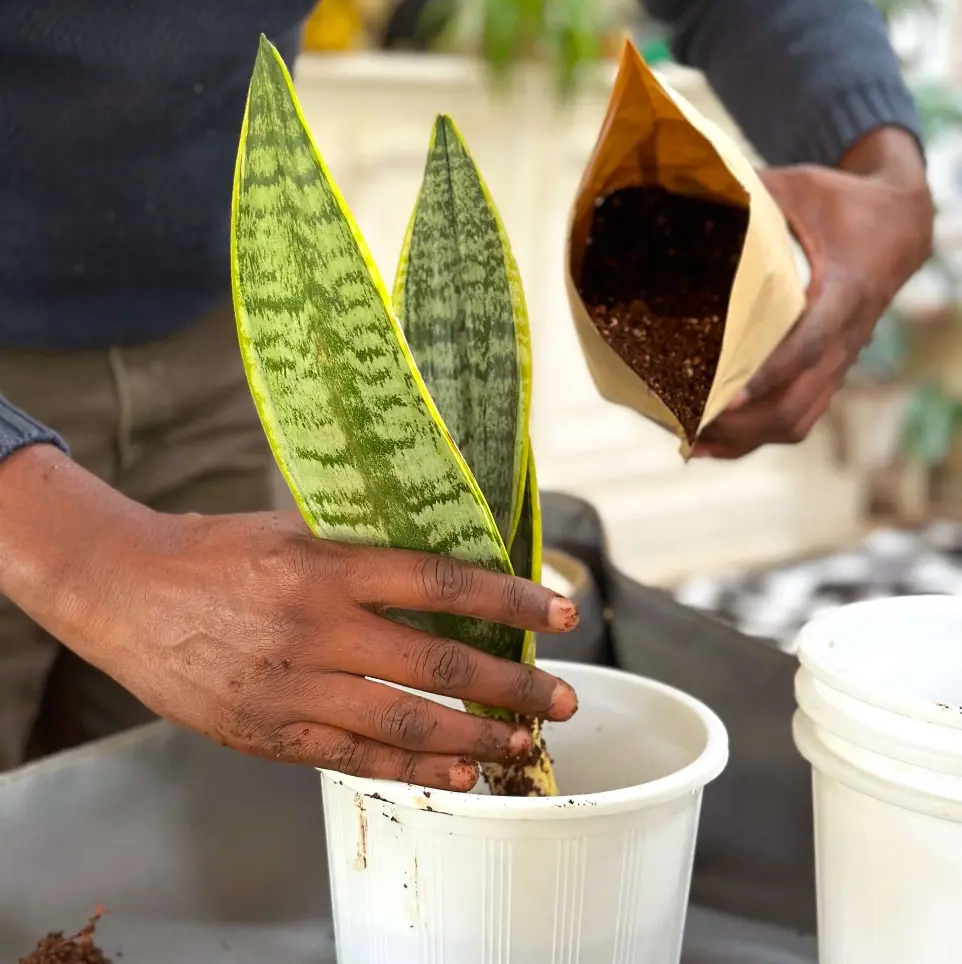
Step 5: Add soil around the sides of the plant as you hold it in place. Lightly press the soil to ensure the plant is secure. Do not compact the soil too much.
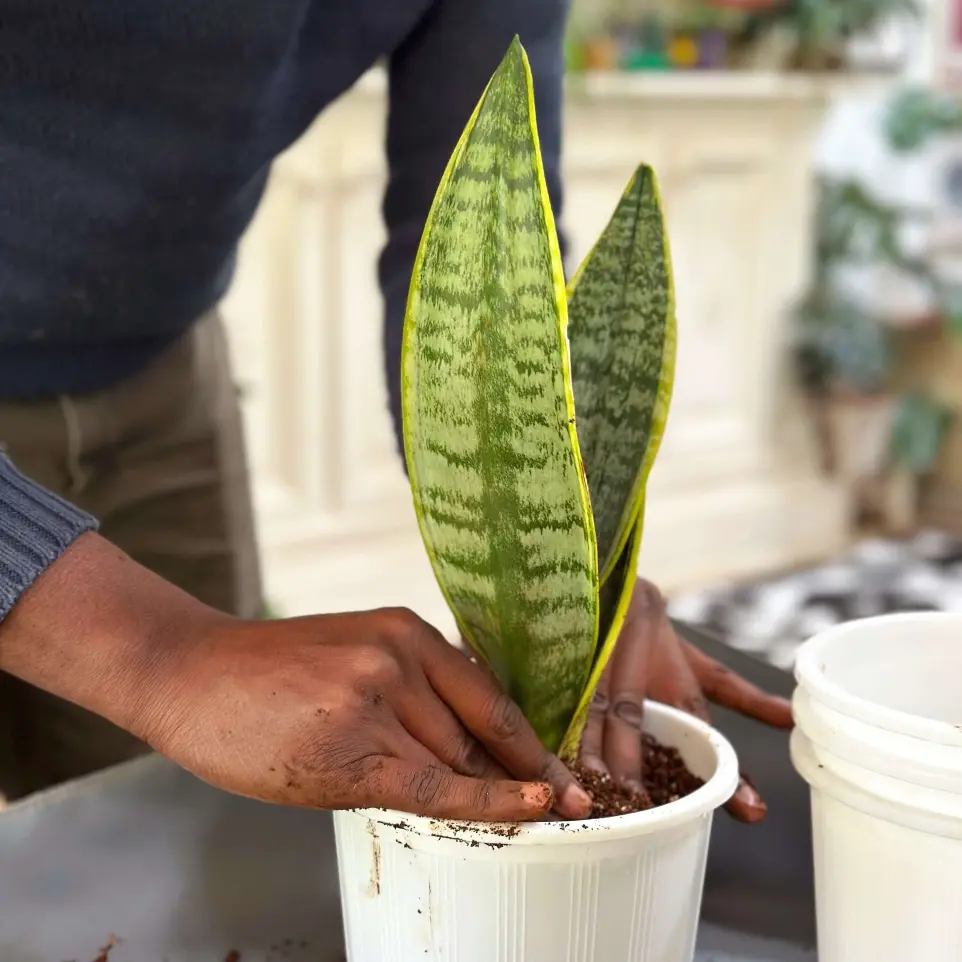
Step 6: Water your plant and allow it to thoroughly drain.